
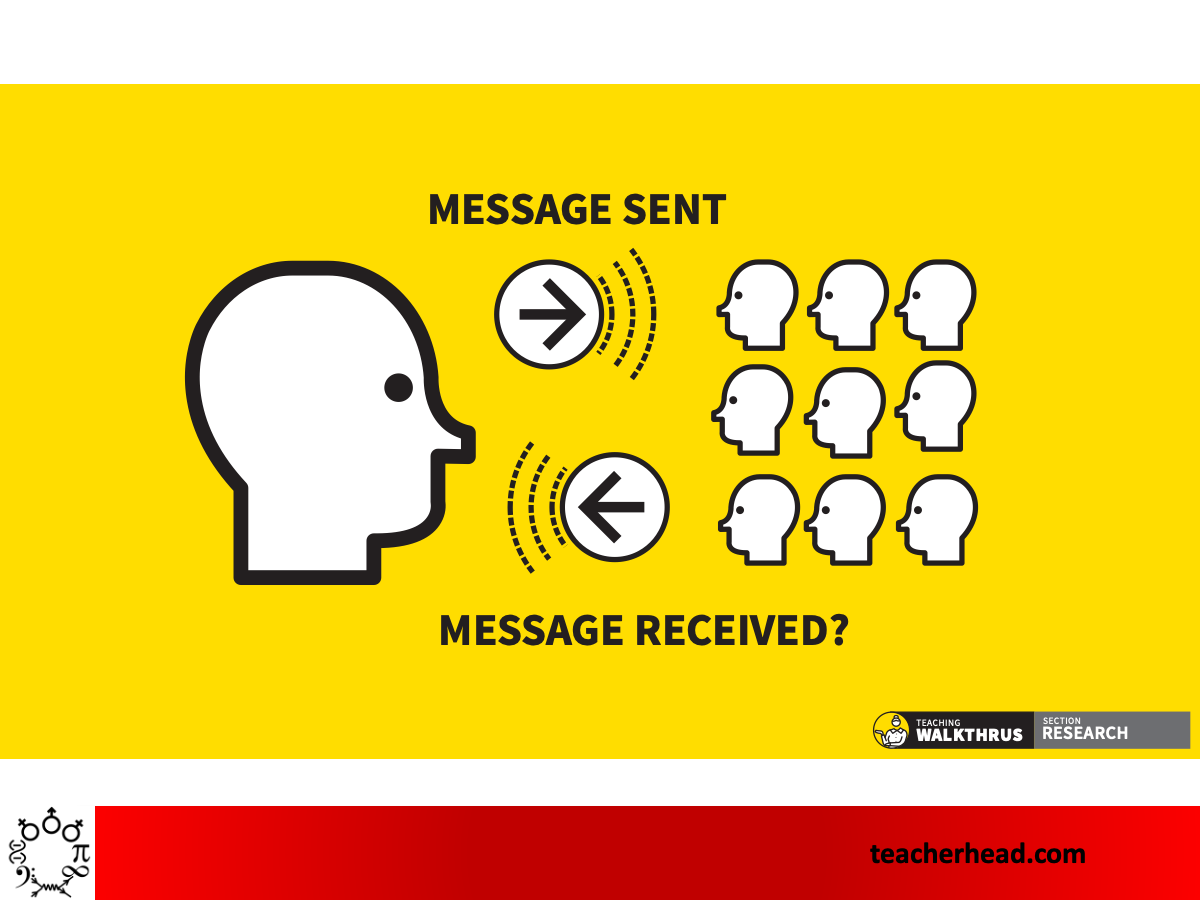
A central feature of an instructional teaching process is for a teacher to show their students how to do something so that they can then do it themselves. This applies to countless elements of learning from learning to tie your shoelaces, executing a basketball lay-up, writing a sentence, composing an essay, factorising an expression in algebra and making a neat dovetail joint. The challenge is to ensure that the hand-over is successful. I’ve previously explored this issue in this post:

The art of modelling… it’s all in the handover.
Some of the most interesting discussions I’ve had with teachers in recent times have been about the challenge of making modelling work so that students all learn to do the things they…
There’s a big gap between showing how something is done and the students being able to do it themselves – especially with more complicated things like essays or multi-step procedures or routines in sport, dance, maths, construction…
A problem with discussing modelling in a general way is that most of the details are entirely context specific. However, with that major caveat in mind, there are some general principles and approaches that I think are useful. Here are five ways to secure progress – each can support the other but they are not a sequence.
- Show the whole process – normally, then slowly.
- Break down into practisable steps.
- Narrate your thinking; Check for their understanding.
- Use multiple examples with backward fading
- Run multiple, short We Do/You Do loops
1. Show The Whole Process – normally, then slowly.
Whatever you are modelling, it’s useful to give students the full sense of what it will look like to complete the task from start to finish. Even if you start with showing a finished example, it’s important for students to see how it was done in real time. The ‘here’s one I made earlier’ short-cut teaches them what to aim at but not how to get there. The full-speed model is obviously going to feel overwhelming but it gives a sense that the task is doable. Then, start to reveal the steps by doing it all again, slowly – not step by step yet, just more slowly.
A good example might be teaching a dance move: show the move at full speed; then show it slowed down. It could be part of the construction process below: the first course of bricks at full speed; then again more slowly. It could be the first stages of scoping out an art composition. It applies to anything that involves physical movement or manual dexterity but can also be helpful for maths problems and short-answer written responses.

2. Break down into practisable steps.
“Practisable” (which confounds the spell-checkers) means ‘can be practised’. And that means something that can be rehearsed repeatedly and improved incrementally on its own. A whole task that you are modelling will nearly always be made up of steps or stages or elements. Ideally, students will be able to practise each step without doing the others. For writing tasks this will be sentence types and then paragraph types, building towards a complete piece for a particular purpose.
- Opening sentences – practise them.
- Quote and inference sentences – practise them.
- ‘Weighing up’ sentences: On one hand… whereas on the other hand…. – practise them.
- Summarising, concluding argument sentences – practise them.
Similarly, steps in maths problems can be practised; sports skills can be practised; dance steps can be practised; French phrases within a typical dialogue can be practised. Practice requires repetition with feedback -and too often each step isn’t practised enough in isolation before being woven back into a whole endeavour.
So, having worked out your steps, stages, moves and elements – model them step by step, one by one with practice opportunities at each point. Then, weave them together as student confidence grows.
3. Narrate your thinking; Check for their understanding.
A vital aspect of modelling is the metacognitive element, making your expert thinking visible to your students so they know why you make the choices you make at each step. At first it’s quite a skill to master in itself to talk through what you are doing as you are doing it – but most teachers can become extremely (even impressively) confident in this aspect of teaching.
However, explaining well – talking as you model – does not represent student learning. It’s a classic pitfall to assume that your narration is making sense just because it makes sense to you and perhaps a small selection of students, smiling and nodding their non-verbal affirmation. Checking for understanding during modelling is extremely important. You show a step… you narrate your thinking.. then you check for student understanding, cold calling students to see if they’ve understood why or how you did what you did. When modelling writing, you make word and punctuation choices to compose a sentence, narrating your choice process. But then you ask… Sadiq… ‘Sadiq, so why have I used the semi-colon there instead of starting a new sentence?’ If he’s understood he’ll reflect that back to you.
And so on. Model, narrate; Check! Model, narrate, Check!. Model, narrate, Check! That’s the rhythm of it – with added loops back to repeats if the checks reveal that students haven’t actually understood.
4. Use multiple examples with backward fading
There are really two elements to this:
Multiple examples are so powerful. By comparing examples, steps in the process are revealed that can’t be seen so readily with just one. If you model two similar maths problems with different numbers, side by side for comparison, the method is revealed more readily than if you do just one or if you do them on consecutive slides (preventing direct comparison). For anything with a quality aspect, comparing two or more examples helps reveal process and standards. For example, compare a tight, polished version against a more rough and ready version – of the dance, the brick-laying, the opening line or the whole paragraph structure.
The second element is the backward fading. After modelling two or more examples in full, start the hand-over process. But, rather than going straight to the ‘over to you’ phase, give students partially completed examples to finish: Ask them to complete the sentence; the paragraph; the maths problem; the isometric drawing; the construction task. This gives students a feeling of success and a sense what it will be like getting to the end. Then, give them more practice with examples that are even less fully complete, backward fading in increments until they do the whole thing on their own. The gradient of fading depends on their success and the complexity of the task. Some students will be ready for the full solo effort before others.
5. Run multiple, short We Do/You Do loops
A useful part of the baton-passing analogy featured in the post linked above – is the zoom-in on the hand-over, where teacher and student are to-ing and fro-ing until the student is ready go solo.
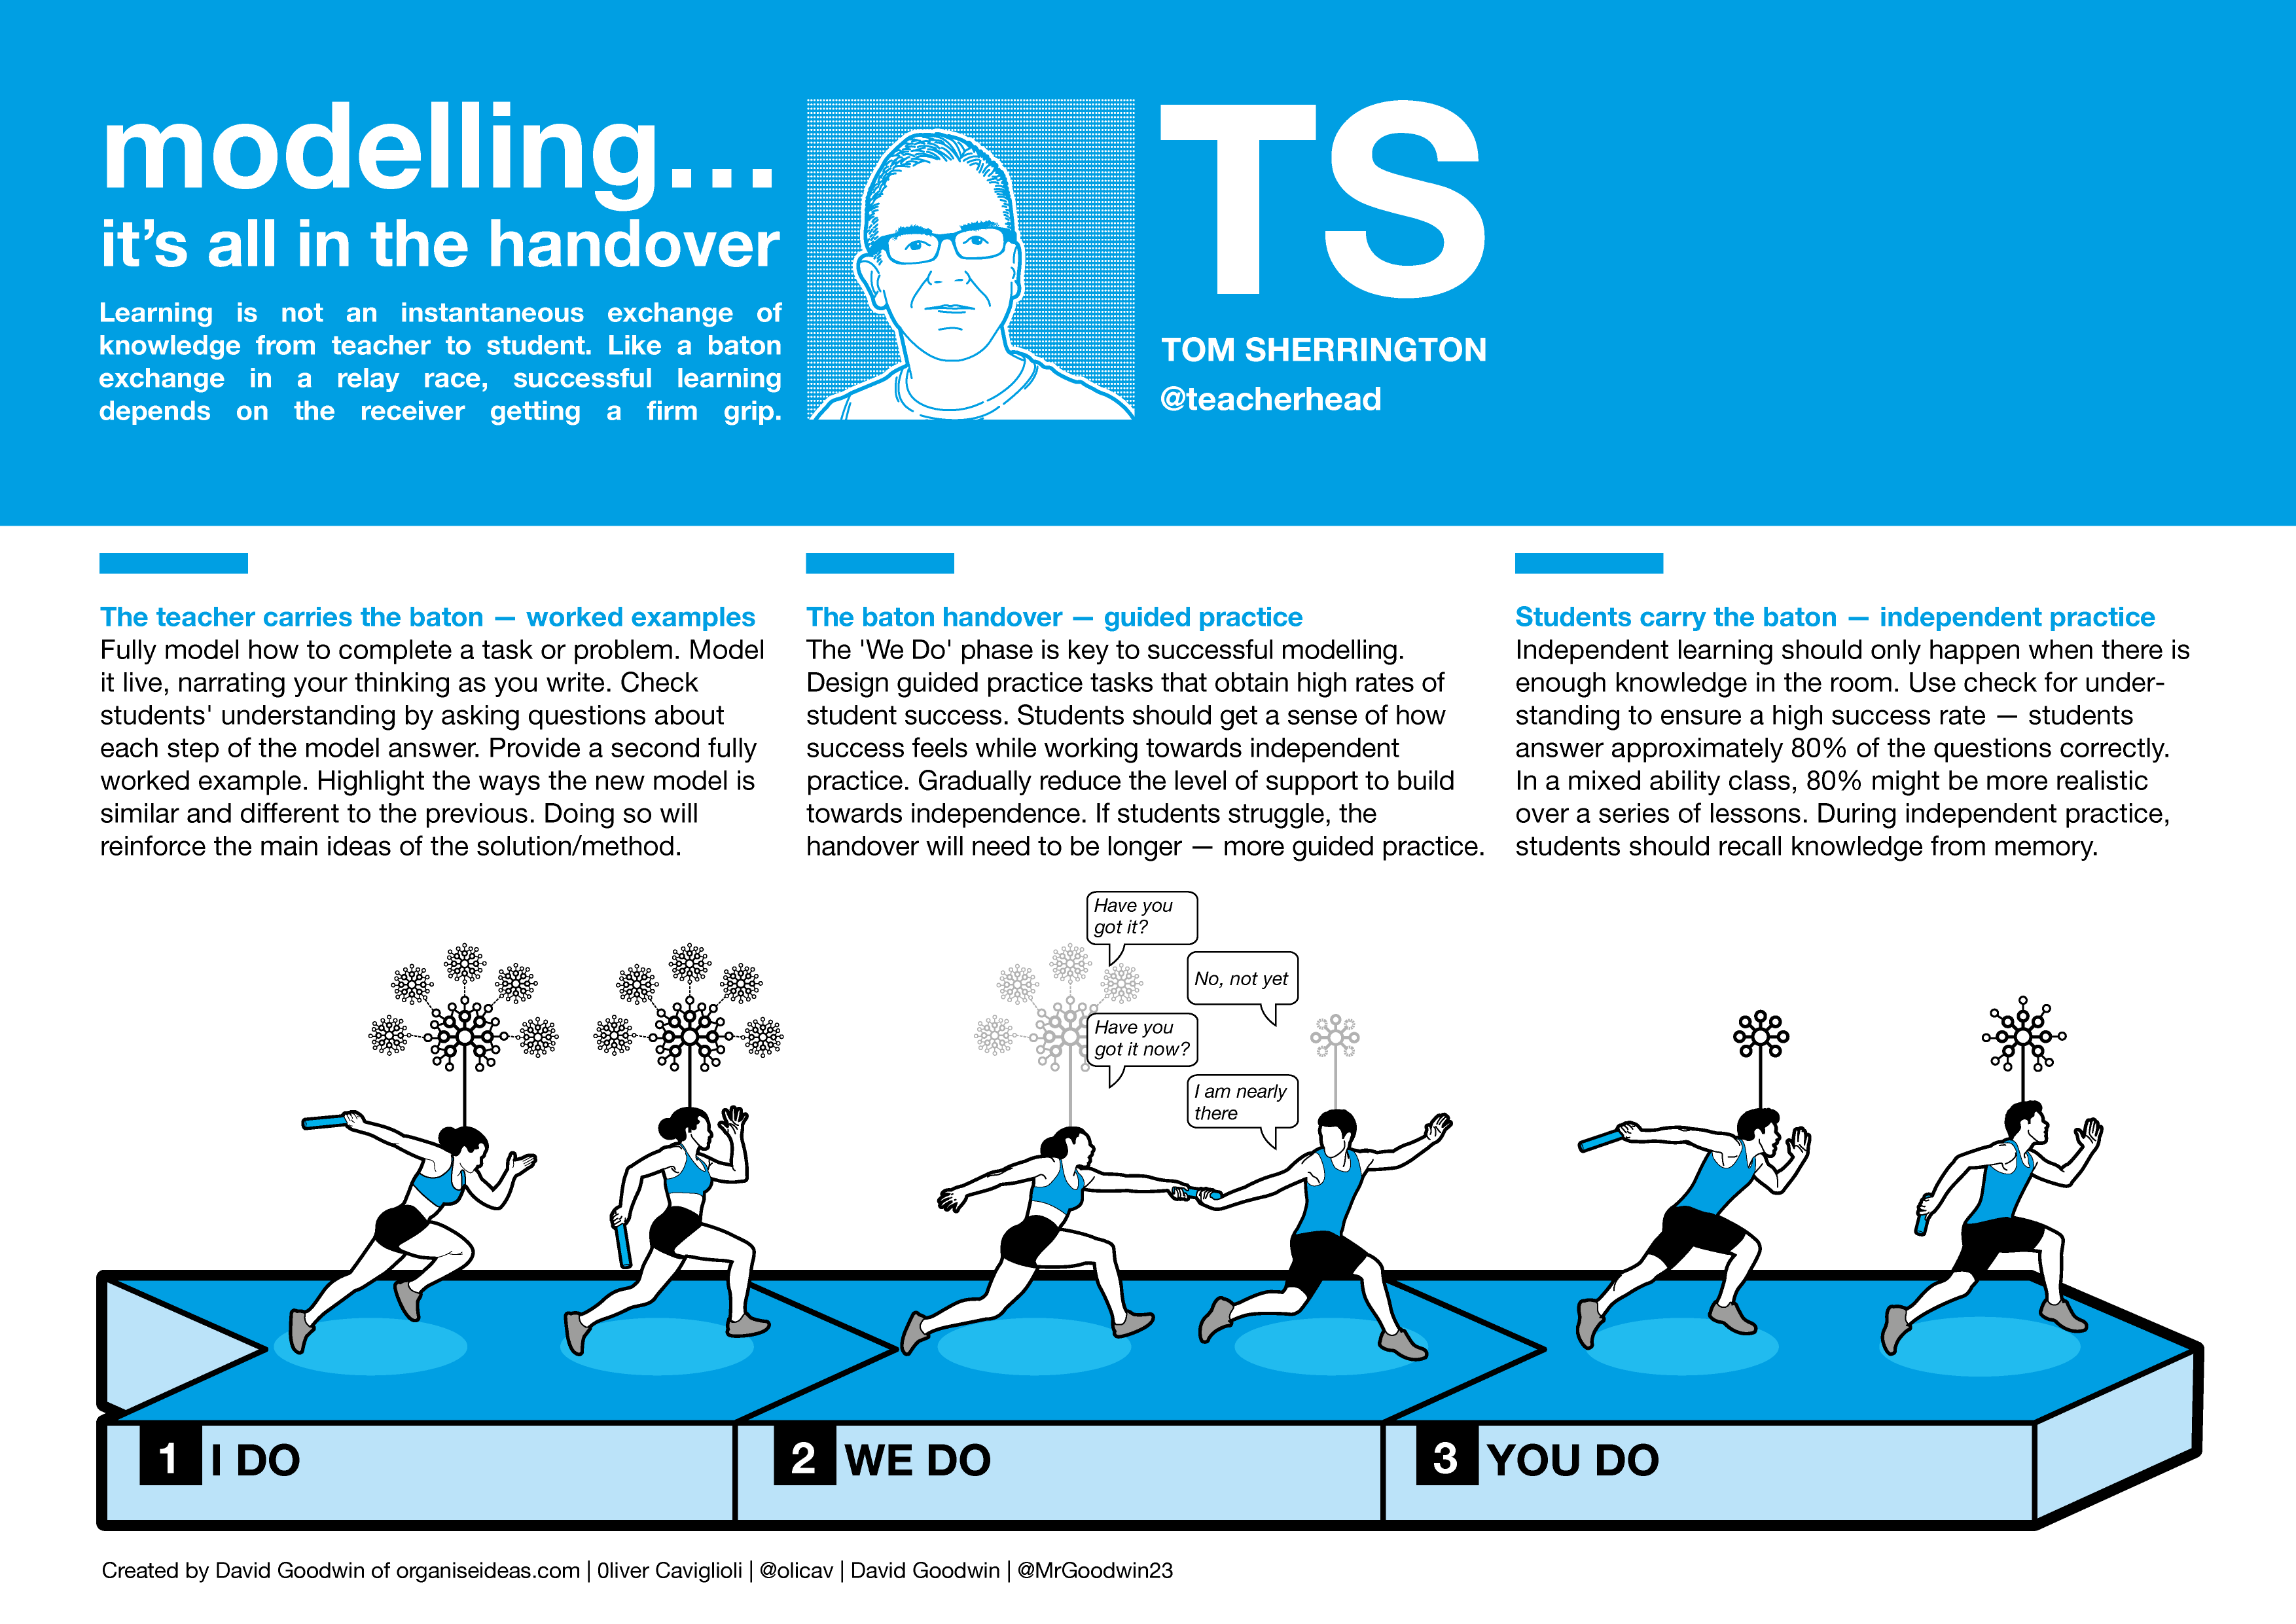
The trouble is that you can’t know – and a student can’t know themselves – if they are ready to be successful on their own until they give it a go. However, unlike a baton race, where you only get one chance to get it right, in a modelling sequence in a lesson, you can try many times, making attempts at success an explicit part of the process.:
We do: You co-construct and backward fade.. then, You do: students finally try on their own.
Some will succeed – great! They consolidate and move on. But other will not.. so you go back again. Ready yet? No? Ok.. that’s fine.. let’s look again.. let’s see another example; let’s row back on the backward fading a few notches. Re-run the We do part and then, when ready, try again for the You do part.
These loops of We do – You do should be normalised; anticipated – just everyday elements of the learning process; not deficits. But unless you keep trying you won’t get to the point where students can do things on their own. There’s a balance between taking a chance on them – being brave; going too soon – so they flounder and lose confidence – or holding on too long so they become over cautious and anxious. Short loops work well because you’re continually testing out the limits of what students can do with help and then without help in an iterative fashion. What that looks like in any given subject is a good discussion to have.
Here is the one-pager made by David Goodwin for you to download. :
